
Custom reports allow users to create
customized reports. This type of report works as a
dynamic table, which allows users to sort and group data. There are predefined report templates that are used depending on the type of data that you need to work with. All tables can be modified according to the users’ needs. Modified templates can be saved for the future use of all members of the same organization. To create a Custom report:


- Once you are logged in your account, click on Partner Portal.
- Click on Reports.
- Click on Custom report.
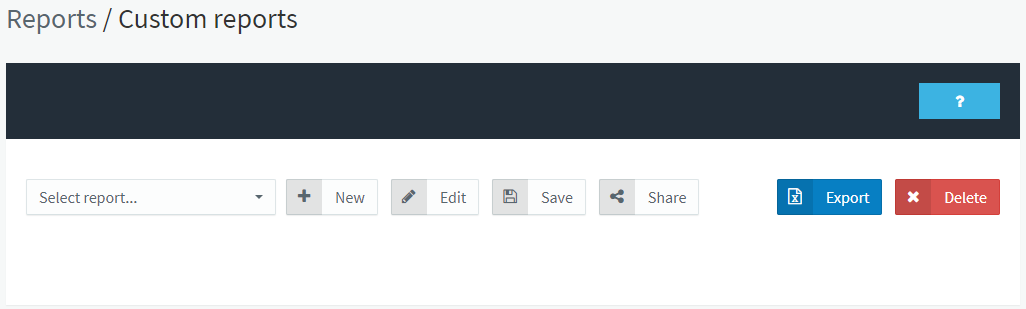
- The main screen is shown:
-
- Select report: it allows you to select an existing report or default report (Progress Summary). Configure these templates to get the information that you need to be displayed as you wish. You can save the configuration to get similar reports in the future. Depending on your role and permissions, you will be able to be seen and share other users’ custom reports from the same organization.
- New: click here to create a new report.
- Edit: it allows you to filter the report by date. Once you have opened a report, use this option to modify the date range or to switch to a different type of report.
- Save: click here to save the selected report.
- Share: it allows you to share the edited report with child organizations. Any change made by the report owner will appear in the shared reports. If those who have received the shared report want to modify it, they will need to save it under a different name. This option will depend on your user and the permissions settings.
- Click on New.
-
- Select the type of report:
- Progress summary is a template.
- Key PO Report is an empty report.
- Select the range of dates that you want the report cover.
- Click on Accept.
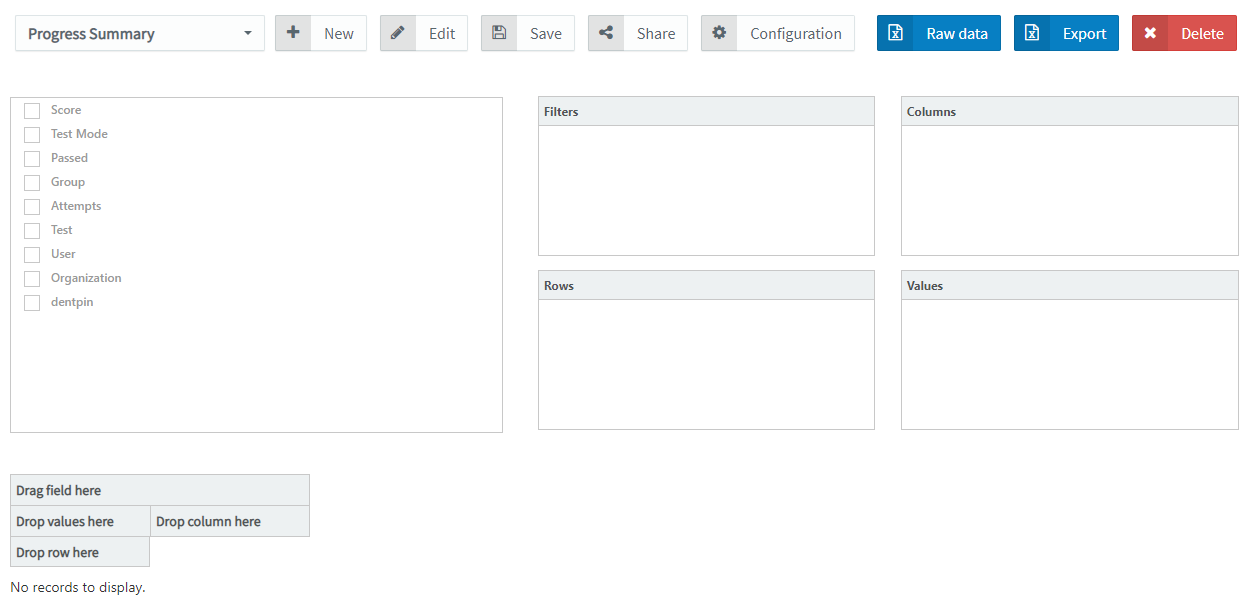
- Select the type of report:
- To customize your report, you can use four areas where you can move the fields.
-
- Configuration: Use this option to modify the configuration of a selected value field. For example, select whether you want to display the sum or the average of a numeric value.
- Raw data: By clicking on this option, you can export all raw data to an Excel file.
- Export: Export the report information to an Excel file. All information will be sorted according to the report configuration. You will be asked to name the file before creating it.
-
- Select the fields to use.
- Move these fields into one area.
- You can click the field, and drag and drop it into the box:
- You can click the field, and drag and drop it into the Drag … here or Drop … here boxes:
- Or you can right-click the field to select the box.
- If you click the checkbox, the field will automatically move to the Rows box. However, from there you can drag and drop the element to any other box.
- The data will display at the bottom of the page.
- Configure the report:
-
- Use the Configuration menu (on the upper part of the screen) to configure the data in the fields located in the Value area. For example, the report can show the sum of the scores or the average.
- Use the icons show in the field tabs:
-
-
- The first one allows you to filter the displayed data:
- The second one allows you to show the data in ascending or descending order.
- The third one removes the data related to that field.
-
- Click on Save.
What would you like to do next?
- Do you want to create a User / Group report? Click here for more info.
- Do you want to create a Flex key report? Click here for more info.
- Do you want to create a Group GAP report? Click here for more info.
- Do you want to create a Progress report? Click here for more info.
- Do you want to create a Delivered keys report? Click here for more info.